While not especially difficult, growing garlic is a labor of love that begins in the fall. Here are a few tips to get you started. As you gain experience you may tweak your technique to better suit your climate and soil. Garlic is very adaptable.
Soil preparation
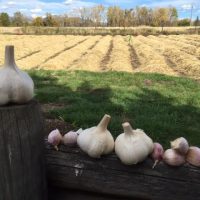
It all begins with soil preparation. Garlic is a heavy feeder, meaning it requires well-drained soil that is rich in organic matter. Cover crops, composted manure, and leaves are all great ways to enrich the soil and provide the garlic with well-balanced nutrients. Mulched, raised beds provide good drainage, maintain moisture, and inhibit weeds. To facilitate weeding and harvest, make sure that the soil in the beds is loose and there is sufficient room in between the rows. At our farm we plant a cover crop in our aisles, mow it during the summer months, then till it under in the fall to help build up the soil.
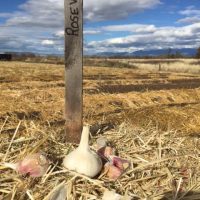
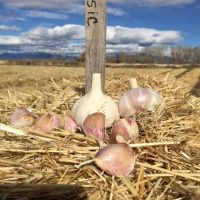
Seed selection
Every clove of garlic is a plant. Just before planting, break apart each bulb into individual cloves. The size of the clove corresponds to the size of the resulting garlic plant, so typically it is best to plant only the larger cloves. However, it is also possible to plant several small cloves close together to grow spring greens that can be used like green onions.
Planting
Garlic should be planted 4-6 weeks before the ground freezes. In southwest Montana, we plant in mid-October. It is important to plant hardneck garlic with the top (pointed end) of the clove facing upwards. Plant each one two to three inches deep and about six inches apart.
Mulching
We typically mulch with about four inches of aged straw that settles to about two inches of mulch by spring. This is sufficient to protect the crop from the heavy snow and extreme temperature variation of Montana. It also conserves moisture and prevents weed growth. Chopped alfalfa hay, grass clippings, leaves, or whatever else is readily available may be used for mulch, although we do not recommend grass hay as it will put a lot of grass seed into the soil.
Watering/fertilizing/weeding
Garlic likes to be kept evenly moist. Water and fertilize while the plant is growing leaves. We also apply an organic kelp/fish emulsion foliar spray every two weeks while new leaves are emerging. As garlic does not compete well with weeds, it is necessary to weed continuously and meticulously.
Harvesting
Hardneck garlic produces a flower on a coiled scape. This needs to be removed so that the plant can devote its energy to growing the bulb, but it can be harvested and used in the kitchen. Check out our recipes! Remove the scape when it starts to uncoil by cutting at the top leaf.
Stop watering the plant when the leaves start to brown up, about two weeks before harvest. When the plant has three to four browned leaves, it is time to harvest. Carefully remove the bulb from the soil. A shovel may help to coax it out of the ground, but be careful not to nick the bulb. Harvesting is best done during the early morning or evening, as garlic will cook if left in the hot sun.
Bundle your garlic with twine and hang it to cure in a covered area with good air circulation. Let it hang for three to four weeks. The garlic stalk should feel dry when it is properly cured.
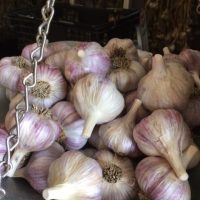
Cleaning
Handle your garlic gently because it bruises easily. Cut the stalk to one and a half or two inches and trim the roots to a quarter inch. Gently brush off the excess dirt, but leave the outer skin intact.
Storing
Store the garlic in a cool, dry place. Fifty or sixty degrees Fahrenheit is ideal. Do not store it in the refrigerator. The smaller bulbs have a longer shelf life, so eat the larger ones first.